


Cleaning and maintaining any firearm is important, and the best time to start learning how to do it is right after you get it – when you're most excited about your shiny new 1911 pistol. Firearms are small machines, and every machine gets dirty with use and is subject to wear over time. It's extremely important to clean and maintain any firearm regularly because debris and worn parts can cause a potentially dangerous malfunction. This is true for every firearm. Besides, being familiar with your 1911 will help when you want to customize it with a cool barrel, night sights or other 1911 accessories. So gather your gun cleaning supplies and let's get started.![]()
How to Remove & Clean the Firing Pin
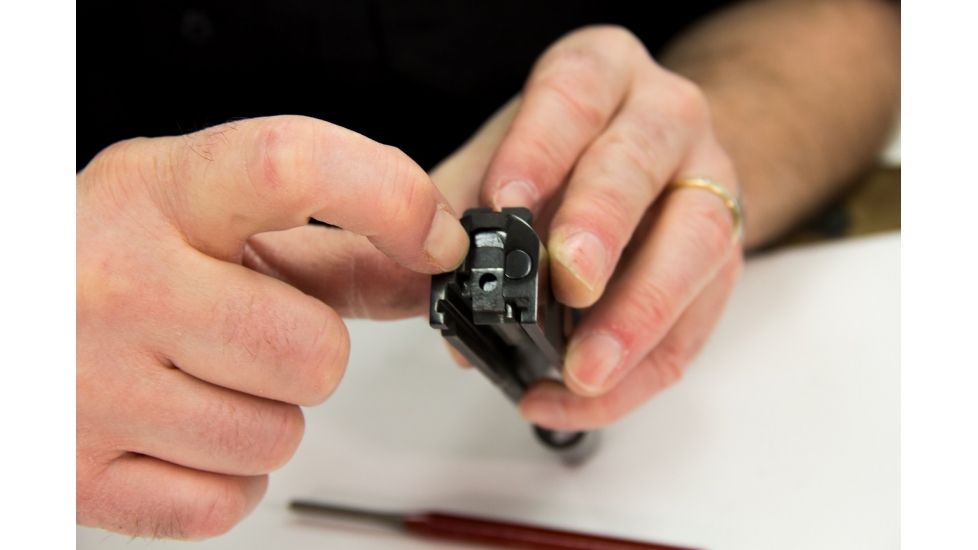
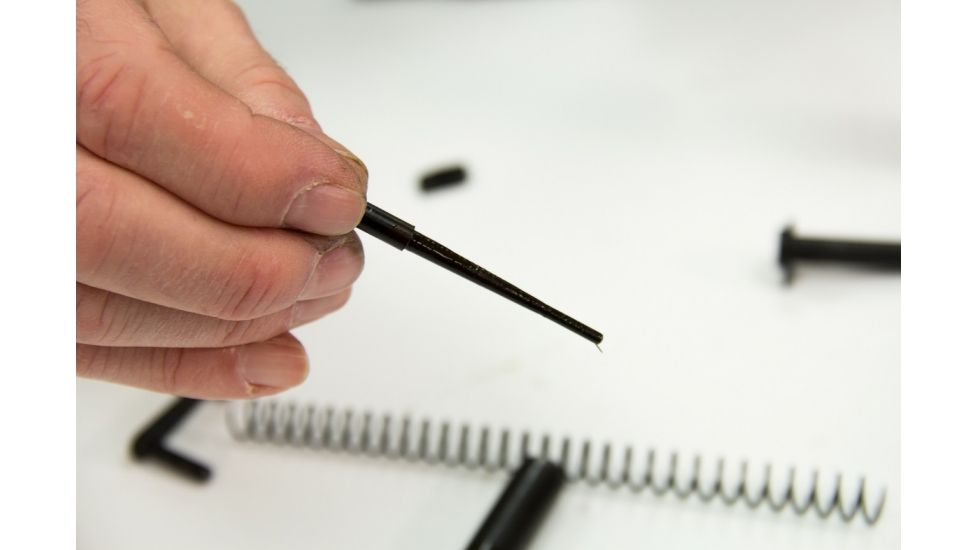
One thing I like to do every other cleaning is removing the firing pin and make sure that nothing is in the firing pin channel that could gum up the works and slow the firing pin or prevent it from moving at all. It's also a good opportunity to inspect the firing pin for wear or damage – something you should do with every part as you get to it.
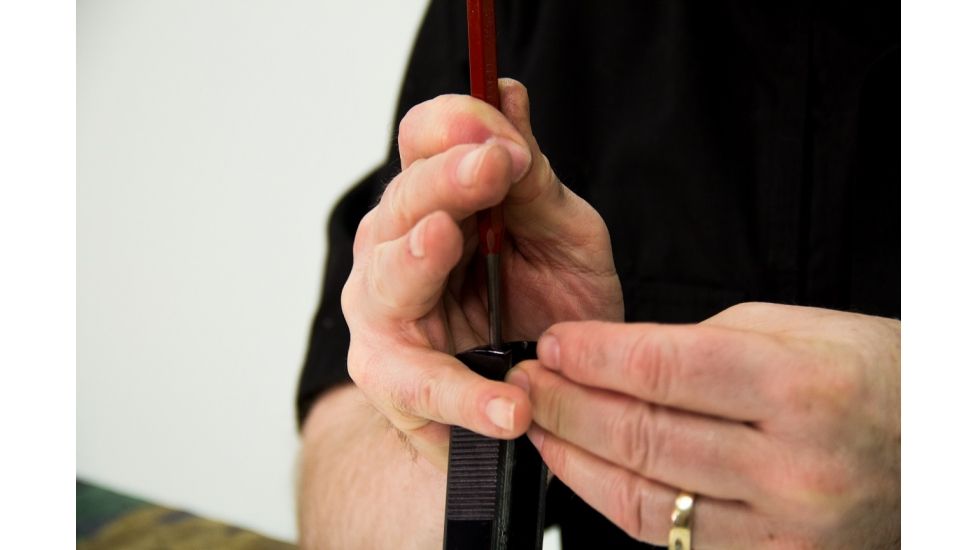
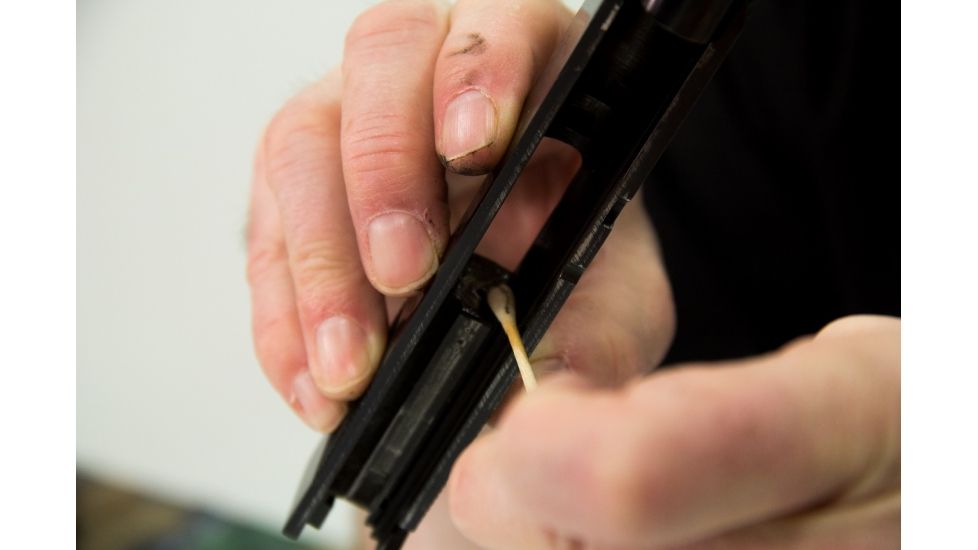
To remove the firing pin, I'm going to use my pin punch and press the firing pin in from the rear until it clears the firing pin stop and slide the firing pin stop down and out. And that's what you will be - down and out - if you don't remember that the firing pin is under spring pressure. Once the firing pin stop clears the firing pin, unless you've got a thumb in the way to capture it and release if slowly, at best you will have to hunt for the firing pin and spring, and at worst, you're going to be a pirate with an eye patch for every Halloween, forever. And between Halloweens, you'll still be wearing the eyepatch.
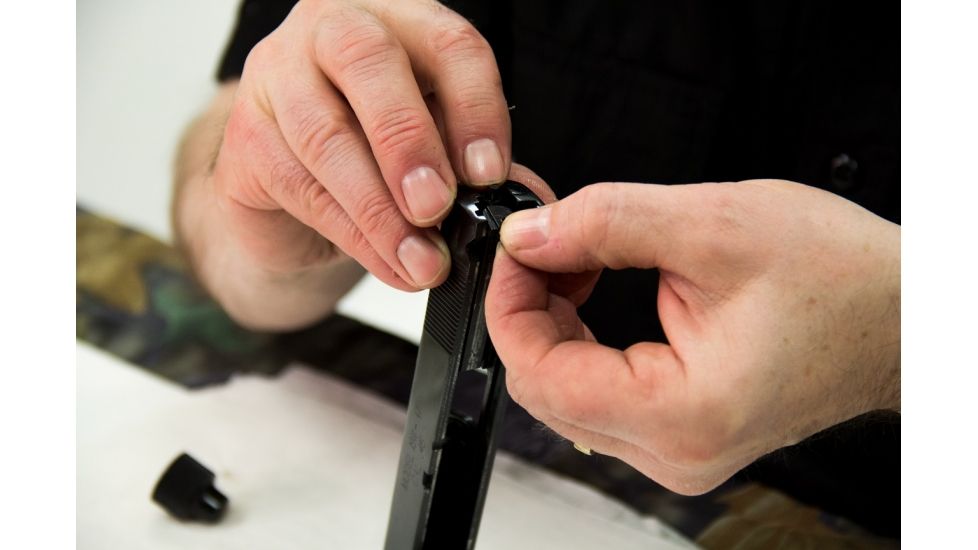
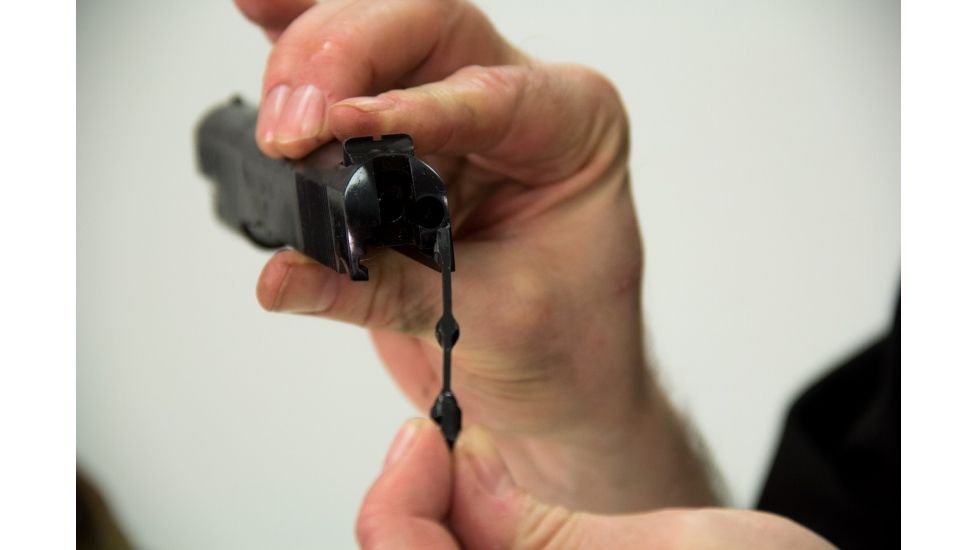
Now that you've removed the stop plate, firing pin, and spring, we may as well remove the extractor. Use the punch to start the extractor out, and once it's moving, remove it by hand. I like to wet a pipe cleaner with Hoppes #9 and scrub the firing pin channel and extractor channel and then blow them both out with compressed air. Note that this flings crud in all directions, so plan in advance where this may go.
Cleaning the 1911 Barrel and Slide
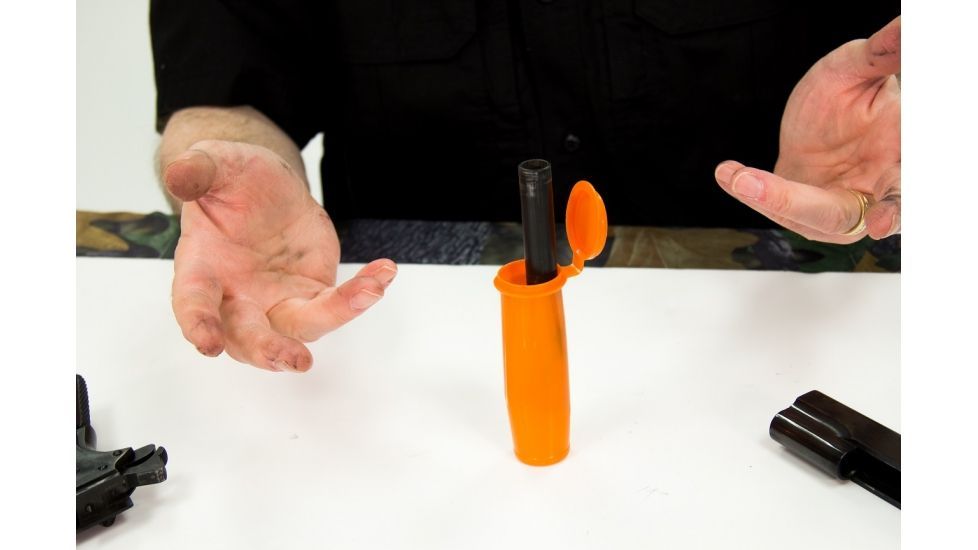
In one of my many moments of greatness, I discovered that a certain gun cleaning accessory comes with free candy – Mini M&Ms. I fill the emptied container (burp) with my cleaning solution of choice – only about halfway... think of deep fryers and a thanksgiving turkey here – and then submerse the barrel while I attend to the frame and slide.
So, we fill the container about halfway, and...

Into the pool with you.
While the barrel is soaking, let's take a look at the slide. Everything is out, so I'm going to saturate the cotton swab with M-Pro 7 and give it a good scrubbing.

I'll scrub everything I can see and poke a cotton swab through the firing pin hole from the breech face.

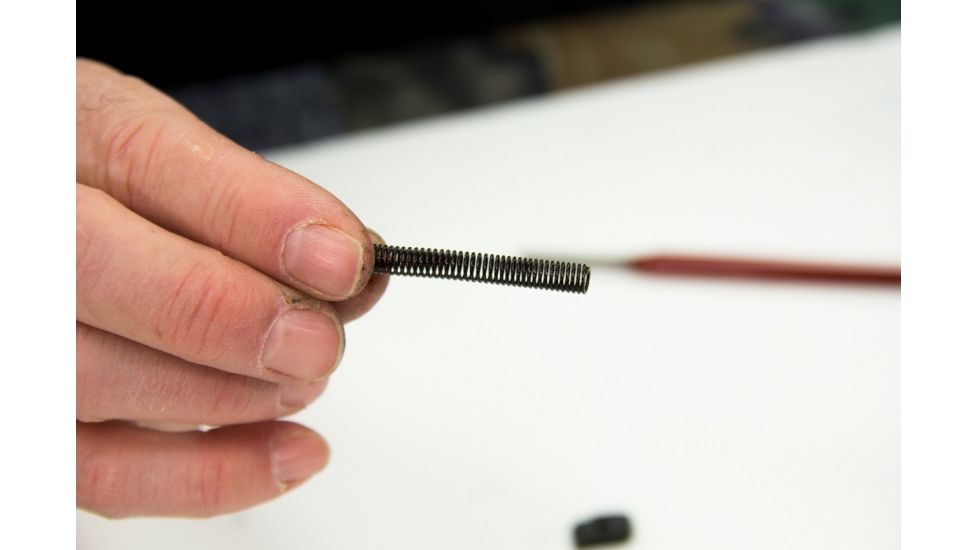
We've already cleaned the firing pin channel, so we will put a bit of cleaner on a gun cleaning patch, wipe down the firing pin and spring, dry them with a patch until clean, and set them aside to dry.
I'll now saturate a cotton swab with cleaner and go over the slide rails, changing swabs until they come out clean.
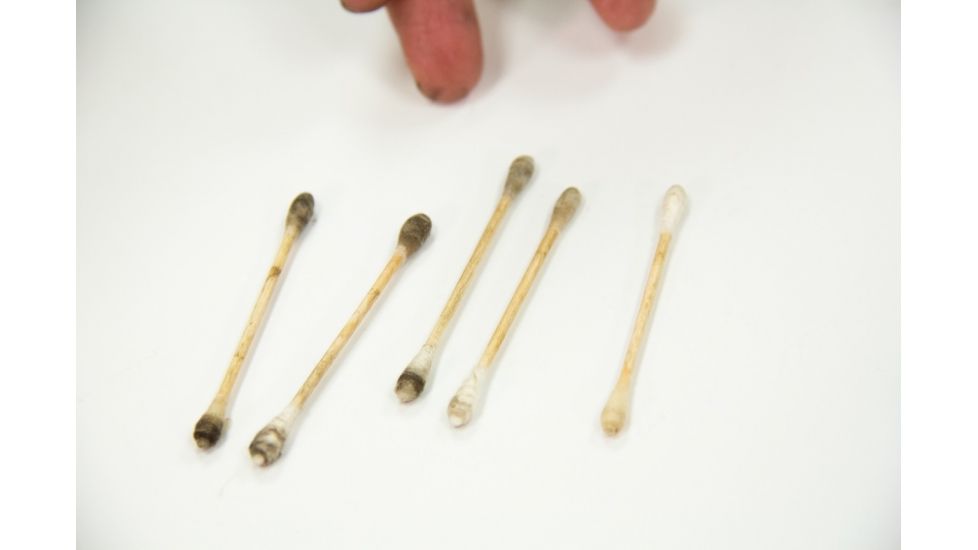
Same with the center rail, swab and scrub. This part of the slide cocks and rides over the hammer when the 1911 cycles after a shot, so it's important that it is clean and smooth. I give the firing pin channel a blast of air, a wipe down with a few clean patches, and then it's time to reassemble and lubricate the slide.
First, the extractor goes in

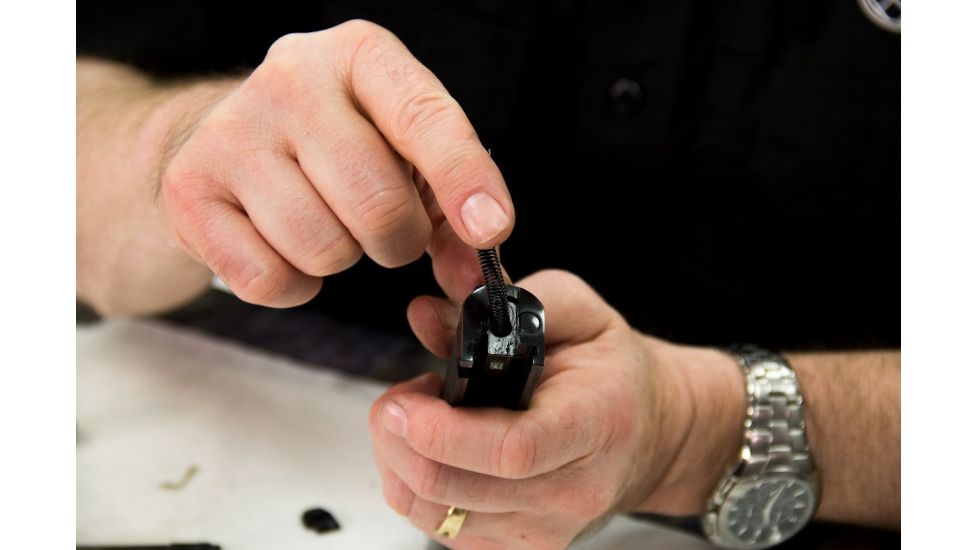
Then the firing pin spring and firing pin. I'll compress the firing pin and spring with a punch, being careful to point this away from my face, and slide on the firing pin stop until the rear of the firing pin snaps back.
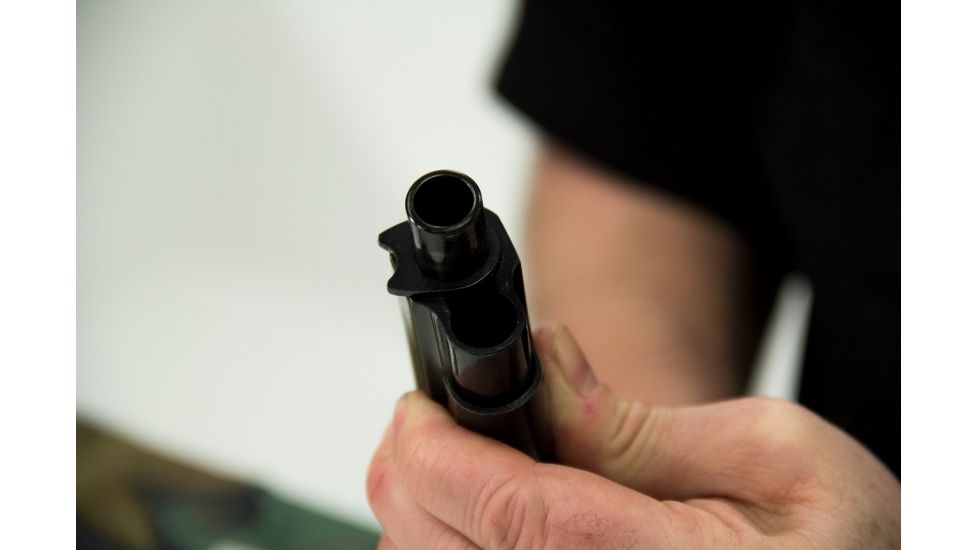
Let's see how the barrel is doing.
While it's still damp, we'll give the outside a good scrubbing with the toothbrush – wetting the toothbrush with M-Pro 7, then we'll wipe it dry with a clean cloth, and we'll clean the bore and the chamber.
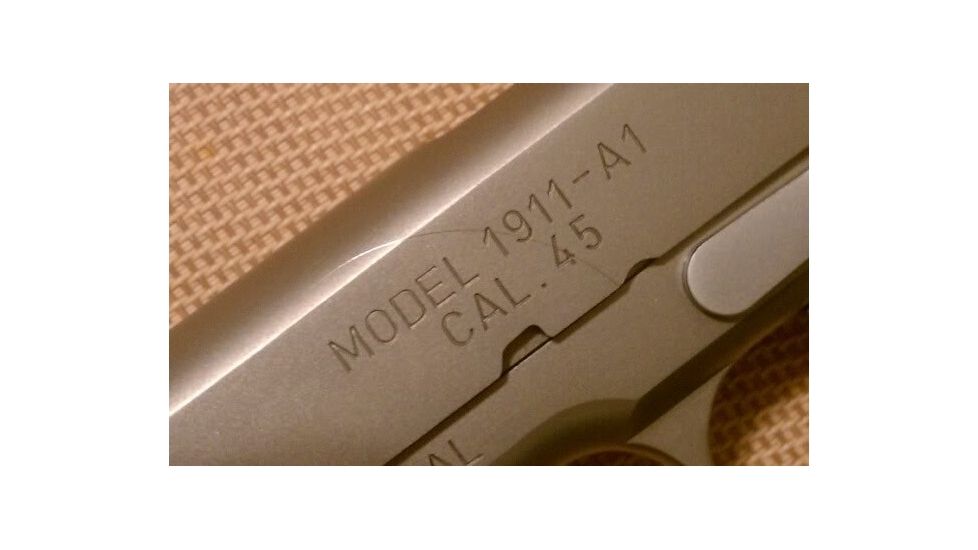
Now, I'll take a rod and attach a brass gun brush sized for my .45 caliber barrel. I'm going to give it a couple of squirts of M-Pro 7, and push it through. I'm going to make every effort to do it in one smooth motion, without stopping, and without reversing direction in the middle.

I'll take that same rod, and attach a patch jag. It has a pointy head that is used to anchor a patch. The jag ensures that the patch is held closely to the barrel surface.
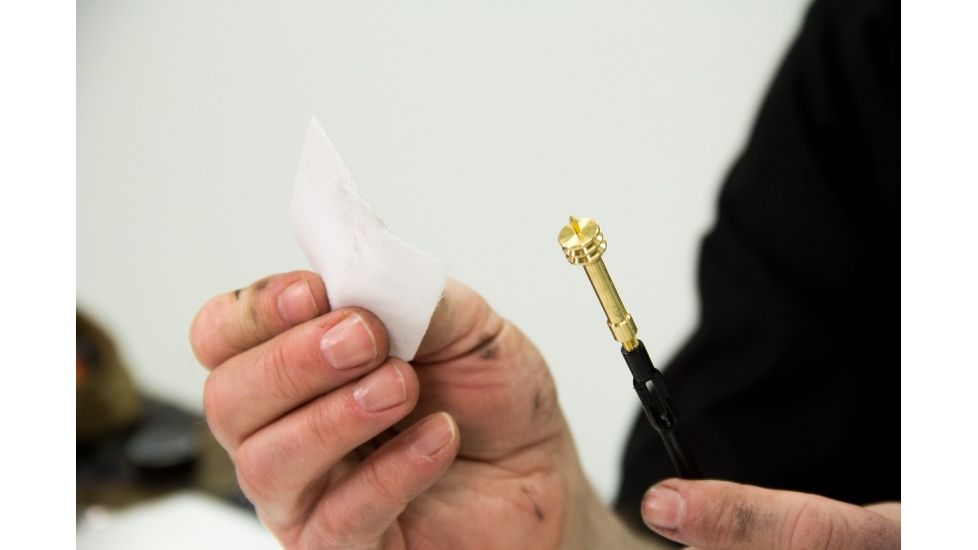
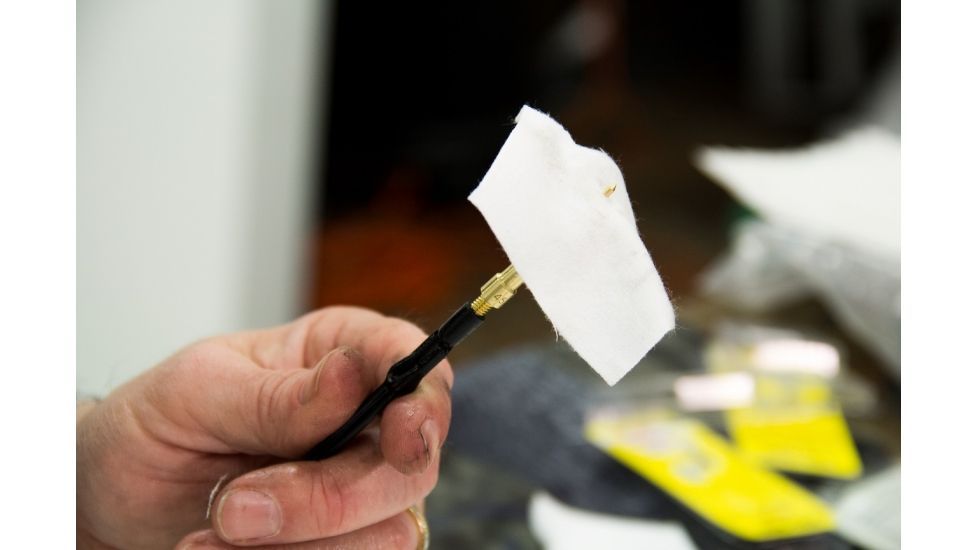
This is going to be pushed through – it will take a bit more pressure as the jag is a specific dimension, and it can't flex like the brushes do. Now let's take a look at this patch and see just how much work this is going to be.
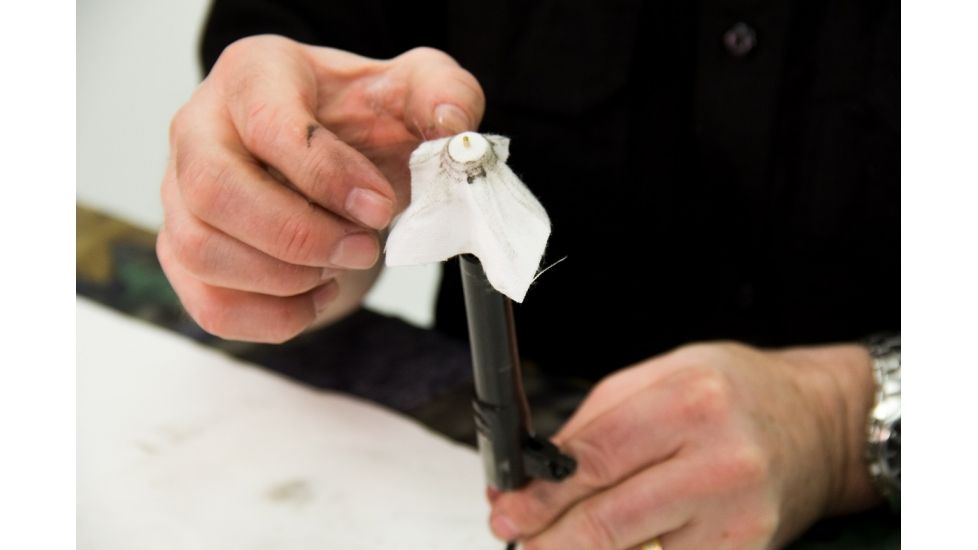
I'll pull the patch off – it's likely going to fall off anyway when I pull the rod back through. I'm going to be careful to center the jag so I don't ding the crown and pull it back through. A slotted tip will retain a patch on the pull back through. You might think it's more efficient than using a patch in a single direction, but I prefer not to push the bad stuff out and then reintroduce it by pulling a patch back through. Patches are cheap.
Here's the tedious part. Now it's a matter of repeating wet patch, dry patch, wet patch, dry patch – until patches start coming out clean.
When that eventually happens, I like to take a light, shine it down the barrel, and see what's left. If you can still see fouling in the grooves, break out the brush and the solvent again. Then, repeat the wet patch/dry patch with the jag.

Once you're satisfied with the cleanliness of your barrel, we're going to push one last patch through, this one with just a wee bit of oil – we want to coat and protect the clean steel with a thin layer, not paint the bore.
Now comes the fun part – putting it all back together! Once we're done, your 1911 will feel and operate like a – well, a well-oiled machine. First, we will take the barrel and apply the oil of your choice to the locking lugs.
I'm going to lay the barrel on its side and apply a drop of oil to the barrel link.

I will lubricate both the slide rails and frame rails.
I like a drop on the barrel bushing and to use a fingertip to distribute it.

Now that we've lubricated the pistol, just remember, this is a field strip, not a detail strip. If we were detail stripping, there are additional areas that I would lubricate – the trigger bow, the sear and disconnector, the hammer pivot point – there are lots of parts that benefit from reduced friction.
We will take our shiny-clean barrel and place it into our shiny-clean slide. I'm going to attempt to position the barrel link so that when I marry the slide and the frame, the link will be in the correct position to capture it with the slide stop.
Now, I will place the recoil spring guide in place, move the slide and barrel into position, pick up the slide stop and...
Story time! My first 1911 was a Springfield, a stainless model. I spent the first couple of weeks taking it apart and putting it back together, and one fine day, I was at this same point of reassembly, and...
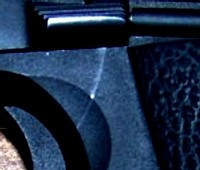
I put the "idiot mark" on my new 1911.
The slide stop has to be in a very specific position to move the slide stop plunged back – it's under spring pressure – and it needs to be pressed at an angle at the very end of the process. Here's the problem: If the slide stop doesn't "snick" down into place, there is a very real risk that it will head off to the north as you're applying downward pressure and angular pressure. The result will be this deep arching scratch in the side of your pristine slide, and it's not going to buff out.
Not mine, but cringe-inducing nonetheless.
In my case, it was so mortifying that I sold it, unfired, at a gun show, and lied and said I got it in a trade. That's probably what everyone who makes the "idiot mark" on their 1911 says.
Back to our assembly.
I'm going to peer through the hole in the slide, and move the slide backwards until (hopefully) the disassembly notch lines up with the slide stop notch, and I will be able to see the barrel link, or rather, the hole in the barrel link that I'm going to stab with the slide stop.
With that barrel link captured by the slide stop, I am going to pay very close attention to the slide stop plunger, and I'm going to put my thumb on the slide to protect it and I will press the slide stop into place with a satisfying "snap" and there won't be any idiot mark on my slide.
It can happen on the frame, too.
People may laugh that I was bothered by a scratch, but I never hear anyone looking at the used 1911s in the case asking "Hey, do you have anything with large, ugly scratches? These are too nice..."
Now that we have the touchy part completed, we're almost done.
Lets take the barrel bushing and slide it over the barrel and into the slide. We want it to be in the same position as it was when we took it off, since we're going in reverse order.
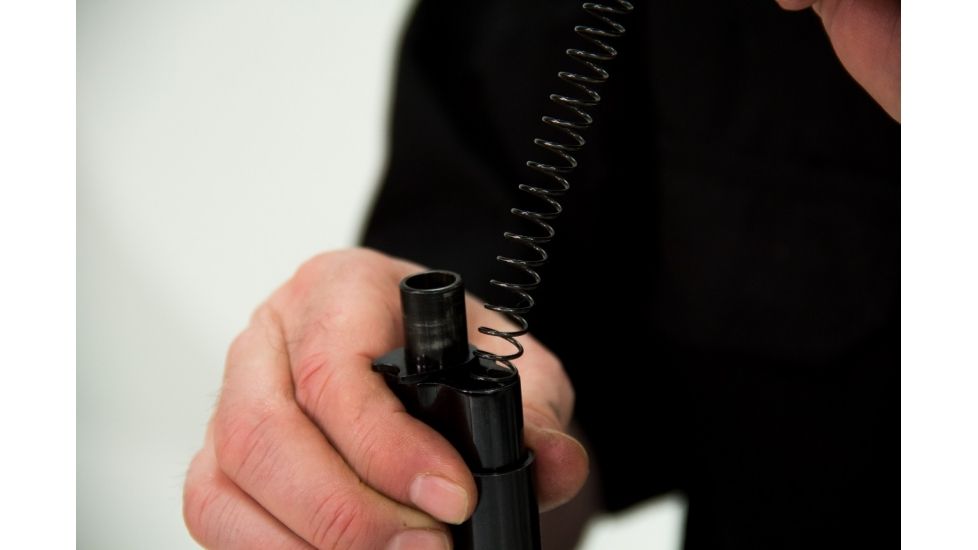
We will drop in the recoil spring, and it will be captured by the recoil spring guide we tucked into the slide earlier. With the slide fully forward, we will place the clean recoil spring plug on the other end of the spring. And here's another potentially dangerous point in the process... compressing the spring so we can turn the barrel bushing until it is holding the recoil spring plug, which holds the recoil spring.
So, eye protection on, face out of the way, and press it in, past the barrel bushing and then turn the barrel bushing.
Hot damn!
So the hammer is back, a byproduct of the slide being to the rear when we reinstalled the slide stop. Let's cycle the slide to make sure it makes all the sounds it should and no sounds it shouldn't.

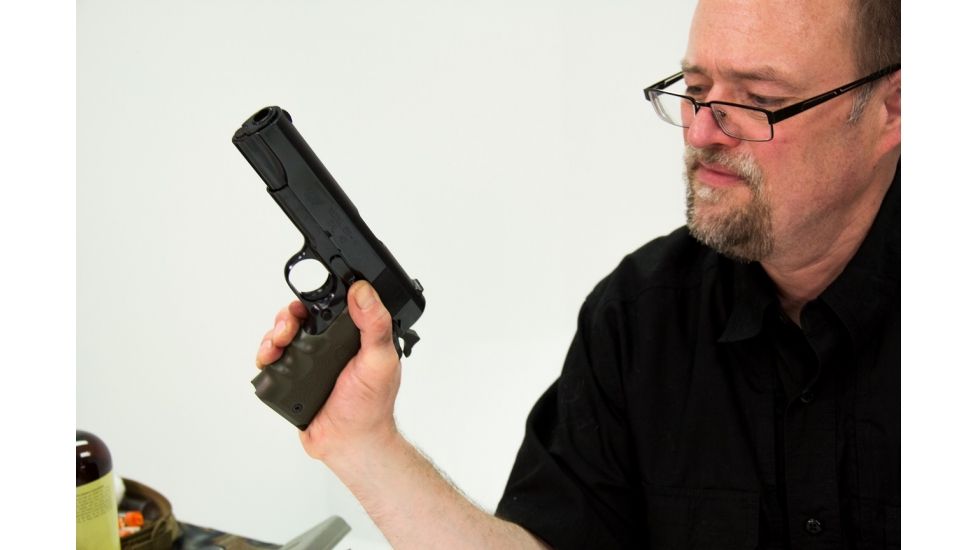
All good? Let's lower the hammer, and cycle it again, and dry fire. Try It once without the grip safety pressed and confirm that the grip safety is doing what it's supposed to do. Now cycle it again, and check the thumb safety.

Assuming everything is working as it should, lets deal with the excess oil that is running out from the frame rails. Take a soft cloth and wipe where the slide meets the frame, and then wipe down the entire gun.
I've seen people finish up by wiping the 1911 down with oil, BreakFree CLP, car wax – all sorts of things. Me? I kind of like Eezox. It dries hard and shrugs off fingerprints so that they don't become permanent.
It polishes up nicely on the flats of the slide, and it gives me the same feeling I get when I leave the carwash.

Now that we're done, go find your magazine and put it with the 1911 for storage. All that is left is to crack a cold beverage, admire your handiwork, dispose of the used patches, and put your cleaning tools away.


