


The AR 15 is the most popular rifle in the United States because of its ease of use and modularity. While there are dozens of brands and even more variants, the key components are standardized and interchangeable. On top of that, there are lots of AR 15 parts by third-party manufacturers available as well.![]()
An AR 15 rifle consists of two main pieces: the upper receiver and the lower receiver. The upper receiver is the business end. It contains the chamber and the barrel, and it's also where most of the accessories go. This article, however, will focus on the lower receiver assembly, which contains most of the controls that allow you to operate the rifle.
This article is also part of our three-part in-depth series on How to Build an AR 15. If you want to learn more about modifying the upper receiver, click here. If you want to learn more about AR accessories, click here. But if you want to learn more about modifying the AR 15 lower assembly, continue reading. This guide will focus on building out the lower receiver and installing the following lower receiver parts:
- Magazine Catch
- Bolt Catch
- Trigger
- Front Takedown Pin
- Buffer Assembly
- Pistol Grip and Safety Selector
- Rear Takedown and Stock
- Trigger Guard
For this article, we will be using a blank lower receiver to demonstrate how to make those installations. Whether or not you work on a blank lower or a complete rifle, the techniques and procedures still apply.
Preparing to Build an AR 15 Receiver Assembly
It should go without saying, but safety is the highest priority when you're handling firearms. Before modifying your gun, you should remove all live ammunition from your workspace. Even though it's a disassembled gun, you should still practice all four rules of gun safety.
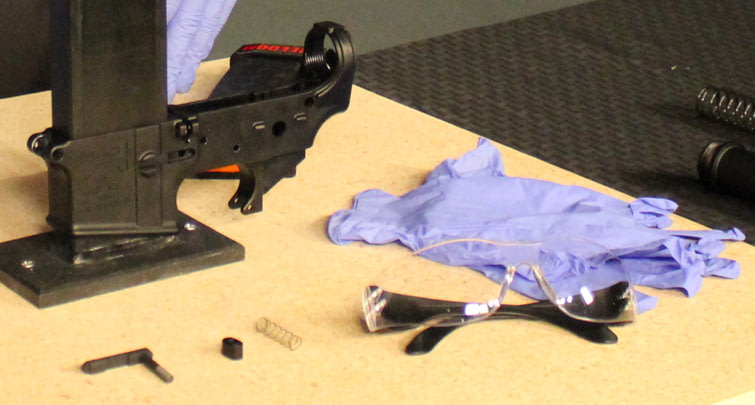
Also, when you work on an AR 15 lower assembly, you will handle lots of small parts that need to be pressed against springs, which means tension. Therefore, you should wear safety glasses when you're building your AR lower. Beside taking the proper safety precautions, the following tools will make the job easier:
- AR lower vise block to prop up the lower receiver, so it's easier to work on. A normal vise could work, too.
- Gunsmith hammer is designed for hammering in the tiny pins that hold everything in place.
- 1/8 inch punch will help stabilize parts while you insert the pins.
- Masking tape to protect the finish on the lower receiver from scratching.
- Safety glasses to protect your eyes and latex or nitrile gloves to keep your hands clean.
- Screwdriver, both flathead and phillips, for parts that require it.
How to Install an AR 15 Magazine Catch
The mag catch and mag release are one in the same in that they allow you to control the magazine. The mag catch secures the magazine into place when you insert it into the magwell, and the mag release is a button you press to release the magazine from the mag catch. The device consists of three pieces: a button, the L-shaped catch, and a spring.
Installing the Mag Catch and Mag Release:
- Slide the threaded tip of the mag catch through the receiver (for right-handed shooters, this will be the left side.)
- Slide the spring through the buttonhole and the over the threaded tip.
- Screw the mag release button onto the threaded part of the mag catch. Make sure the scalloped (or grooved) side faces out. Tighten the button until you no longer can.
- Align the button so that you can push it into the receiver. Push it in as far as you can, which should also push the catch out. Rotate the catch clockwise and tighten it until you no longer can.
Function test the magazine catch and magazine release by inserting an empty magazine. If the magazine stays in after a few tugs, the mag catch works. If the magazine drops when you press the mag release button, the mag release works.
How to Install an AR 15 Bolt Catch
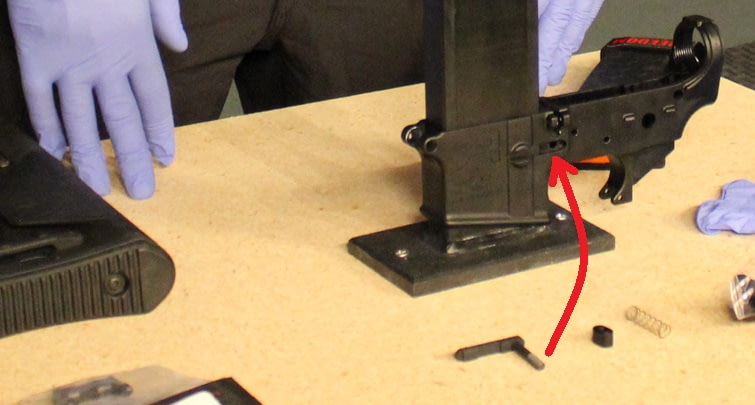
Installing the bolt catch is easier said than done. It requires holding a small metal button, under spring tension, in place as you drive a small pin through it. Therefore, it's best to insert a 1/8 inch punch into the receiver and bolt catch as you drive the pin through the opposite side.
Installing the Bolt Catch:
- Insert the spring into the receiver followed by the detent. The round end of the detent should face outward.
- Place the bolt catch into position with the button at the top, and align the hole in the catch with the holes in the receiver.
- Drive the pin through the first hole on the receiver, continue through the bolt catch, and complete the push into the second part of the receiver.
How to Install the Fire Control Group
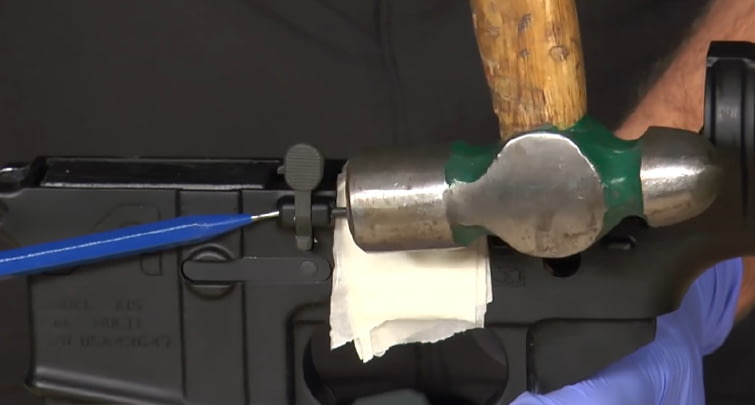
The Fire Control Group, or the trigger, is held in place by two trigger pins. The lower pin secures the trigger, and the upper pin secures the hammer. And the AR15 safety selector is located behind the trigger.
Some trigger groups come fully contained, so all the parts are housed in a box. These drop-in triggers are easy to install as you just secure them in place with the trigger pins.
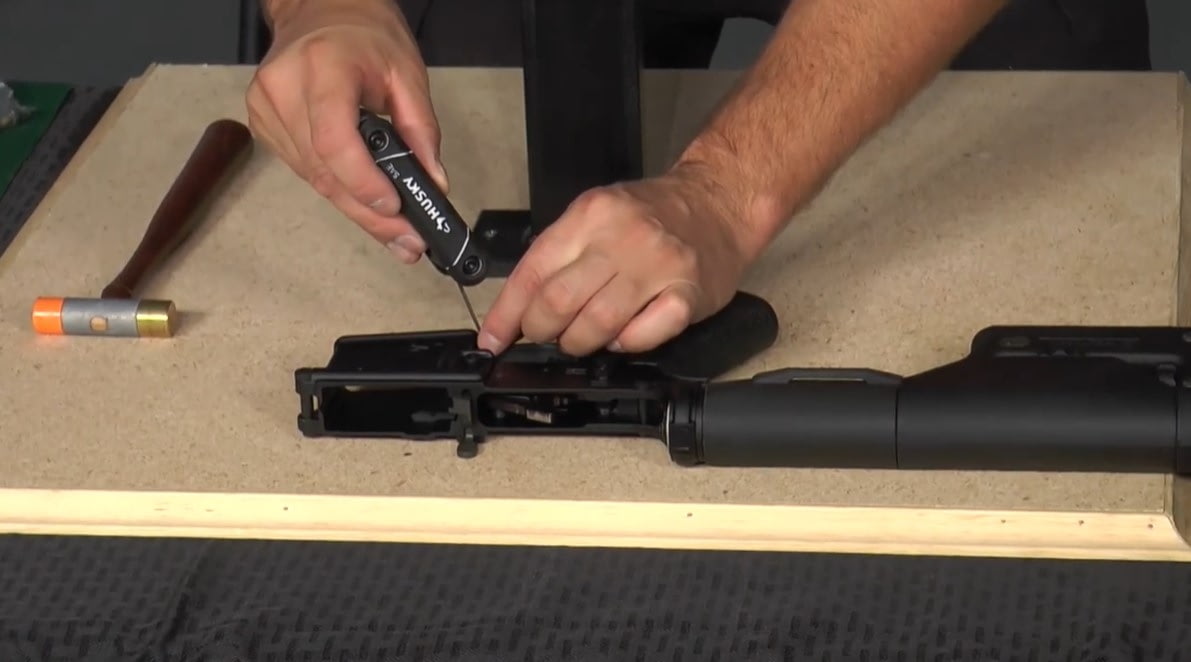
Other trigger groups come unassembled, so you have to hold the trigger parts and hammer parts together during installation. Some of these come with slave pins (like the Geissele trigger in the video), which you drive out during installation.
For trigger assemblies that don't have slave pins, it's easiest to hold everything in place in the receiver with a 1/8 inch punch. As you drive the trigger pin through, you pull the punch out.
How to Install an AR 15 Trigger:
- Align the trigger assembly with the lower trigger pin hole in the trigger housing.
- Slide the pin through the hole in the receiver as far as you can by hand.
- Tap the pin so it slides through both the receiver and trigger group.
- If the trigger pin requires, secure it in place with a screw.
How to Install the Safety Switch
- Slide the safety switch into place.
- Fasten the cap on the other end.
How to Install the Trigger Hammer:
- Align the hammer with the upper trigger pin hole in the trigger housing.
- Slide the pin through the hole in the receiver as far as you can by hand.
- Tap the pin so it slides through both the receiver and hammer.
- If the trigger pin requires, secure it in place with a screw.
After installation, check for function by cocking the hammer and pulling the trigger. Guide the hammer forward instead of allowing it to hit the receiver.
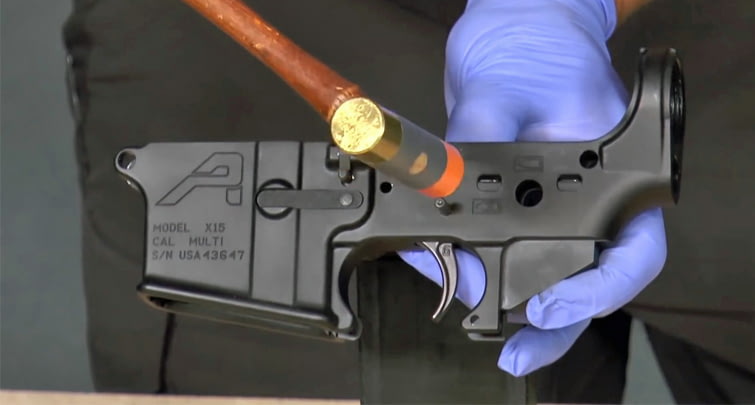
How to Install the Front Takedown Pin
The front takedown pin secures the upper receiver to the lower receiver in the front of the rifle.
Installing the Front Takedown Pin:
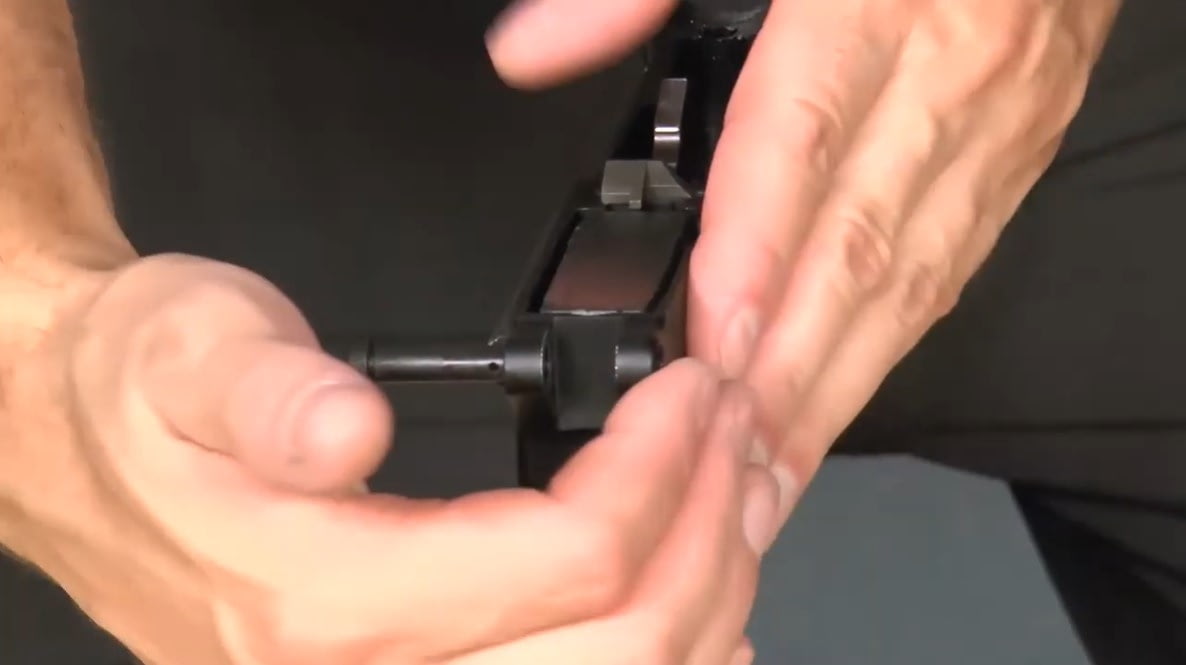
- Insert the takedown spring into position.
- Slide the detent into place. Use a flathead screwdriver to hold the detent into place. As you push the detent into position, slide the screwdriver over the top of it so that it's depressed and locked in place.
- Insert the takedown pin. As you slide it into place, gradually slide the screwdriver off the detent until the takedown pin is fully inserted.
Check it for function by pulling the takedown pin out. If it catches and locks, it's been installed correctly.
How to Install an AR Buffer Assembly
The buffer tube assembly consists of the buffer retaining pin, the buffer tube, and the buffer spring and buffer. The AR 15 buffer assembly catches the bolt carrier group after you fire the rifle and helps absorb recoil.
Installing the Buffer Tube Assembly:
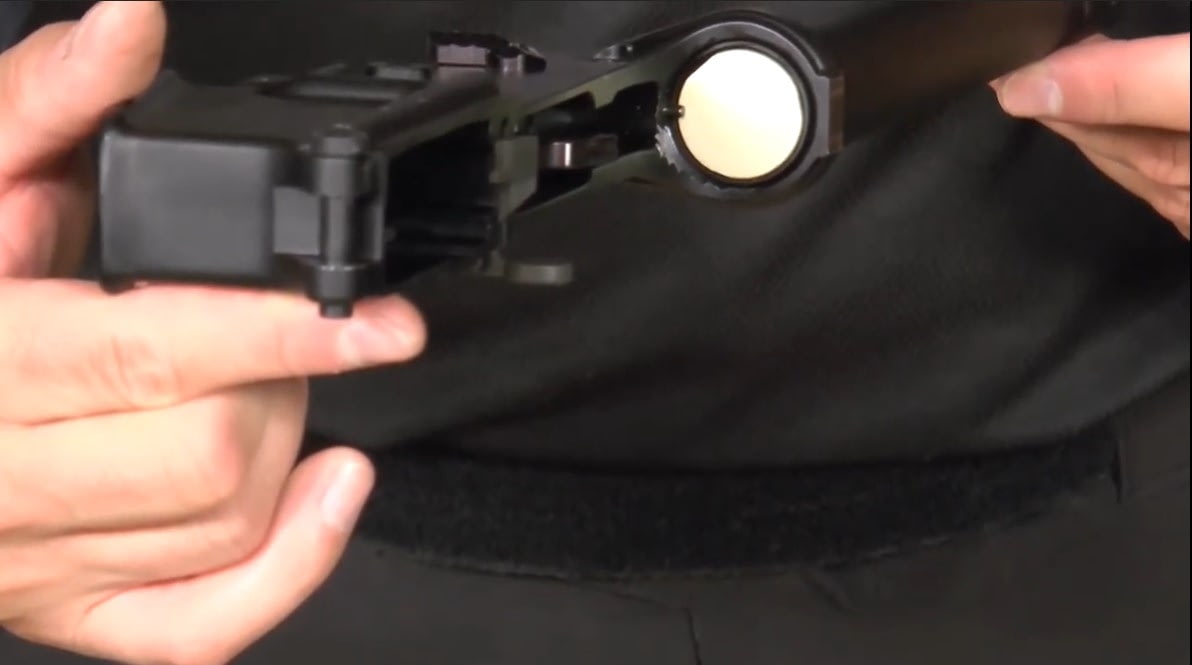
- Slide buffer retaining pin into place.
- Thread buffer tube into position.
- Depress retaining pin until tube touches nipple of the buffer retaining pin.
- Insert the spring into the tube with the buffer following.
Function check the buffer tube by depressing the buffer retaining pin. It should release the buffer and spring. Then, push the spring and buffer back. The retaining pin should catch the buffer and secure it in place.
How to Install an AR Pistol Grip and Safety
Although you've already installed the safety selector switch, it won't function properly without the AR pistol grip installed. The pistol grip helps keep the safety detent and spring in place, which catches the safety when you engage and disengage the safety.
Installing the AR15 Pistol Grip and Safety:
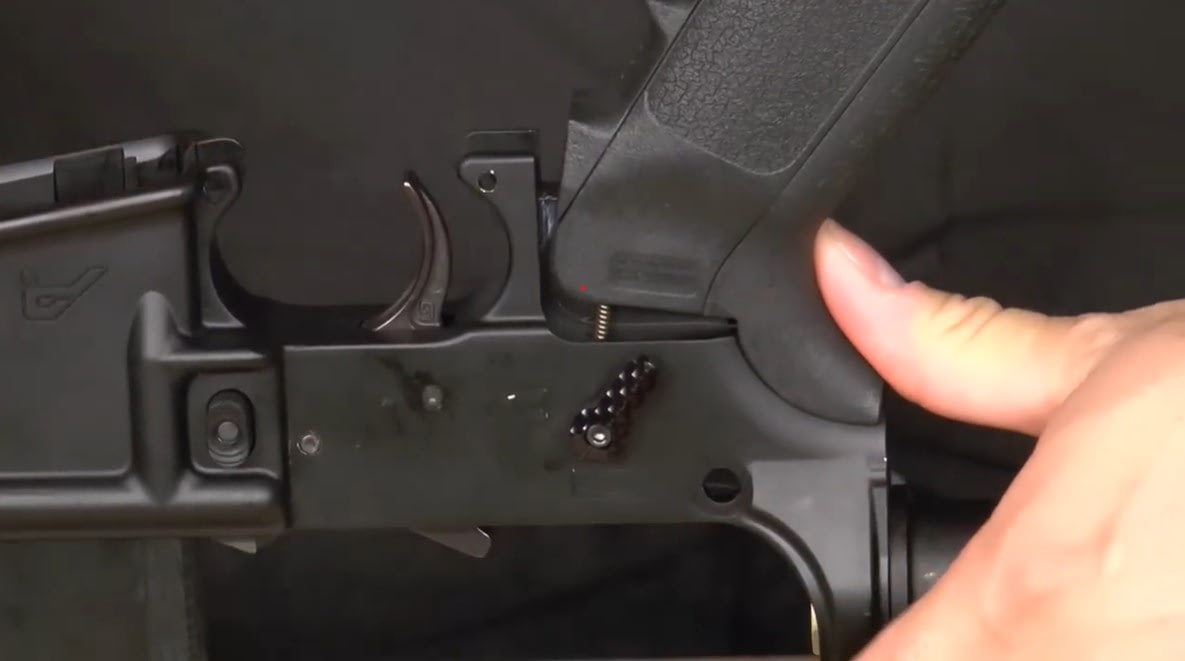
- Flip over the AR lower, find the small hole by the safety, and slip the safety detent into place.
- Slide the spring into the pistol grip and then slide the grip onto the lower with the spring aligned with the hole. Guide the pistol grip and spring into position.
- Fasten the grip to the receiver. Drop the screw inside the grip and tighten it with a screwdriver.
Function check the safety by placing it on safe and pulling the trigger. If it blocks the trigger, it works.
How to Install the Rear Takedown Pin and Stock
Like the front takedown pin, the rear takedown pin secures the upper receiver to the lower receiver. While the AR15 stock allows you to properly and effectively aim the rifle.
Installing the Rear Takedown Pin:
- Slide the rear takedown pin and slide it into position.
- Slide the detent into position and follow it with the detent spring.
Installing the AR Stock:
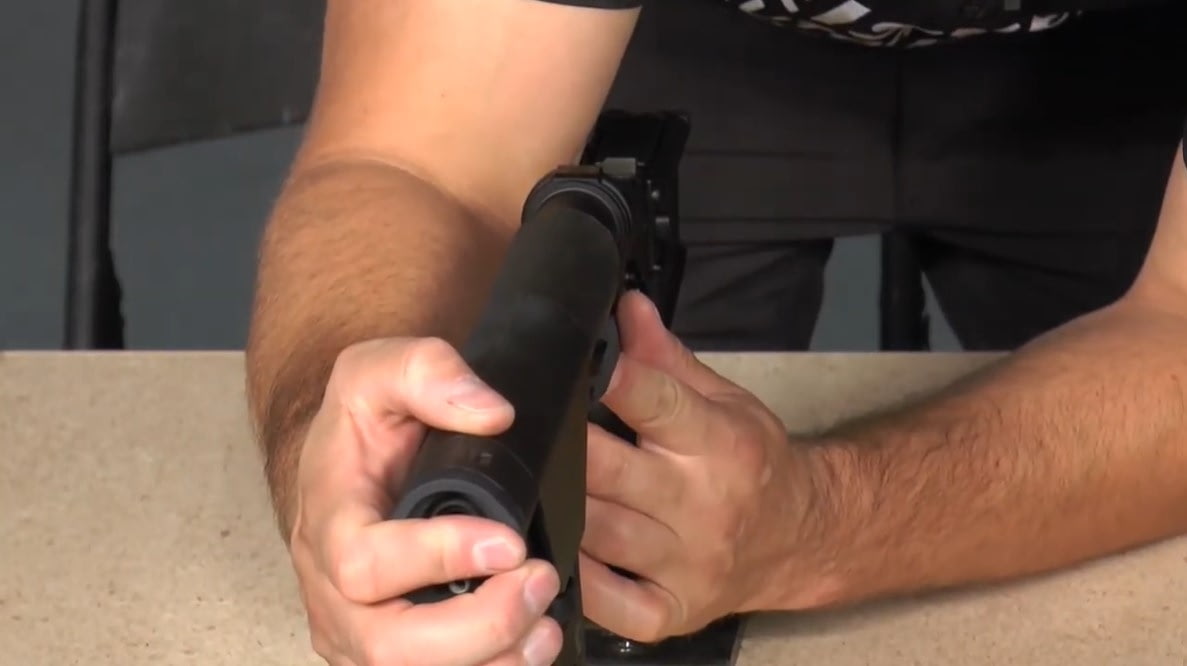
- Slide stock over the buffer tube.
- Secure the stock to the buffer tube with a screw.
- Cover the butt with a butt pad and secure it with screws.
How to Install the Trigger Guard
As the name implies, the trigger guard helps protect the trigger from unwanted engagement, like something accidentally sliding into place and depressing the trigger.
Installing the AR15 Trigger Guard:
- Place the AR lower flat on the workbench.
- Slide trigger guard into position.
- Install the screw that holds the guard into position.
- Align the roll pin into position and tap it into place with a mallet and hammer.
Conclusion
So, you built out your AR lower receiver. Everything has been function checked and works. What next? If you haven't already done so, start on your AR upper receiver. If that's done, it's time to hit up the range and maybe zero your riflescope. For that, you'll need to buy some ammo, and afterward, you'll need to clean your rifle.


